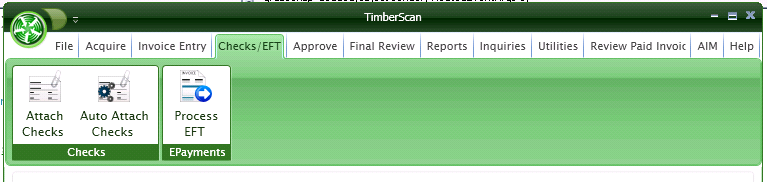
2.1.4.3.5.1. Attach Checks
The first step in Attach Checks:
Acquire checks and give them a Batch ID.
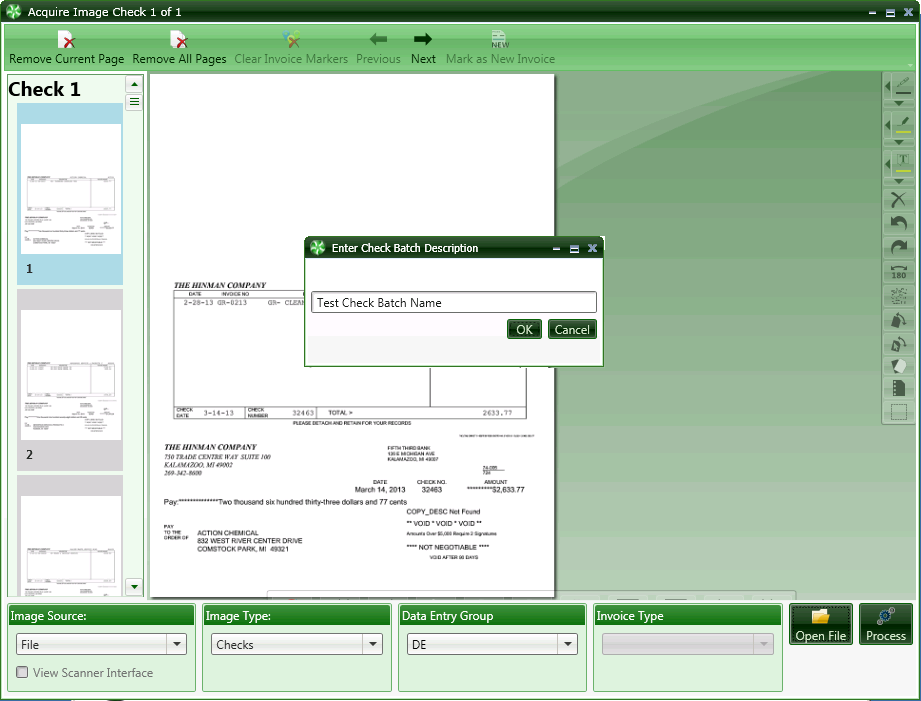
Checks scanned in TimberScan require a Batch ID. Select the Batch ID you wish to work on.
From the Checks menu > Attach Checks
In order to start the attach check process you need to:
Select the Back Account and Starting Check Number.
The Bank Account has a pull down selection that displays your bank accounts from the Sage 300 CRE system.

With this information TimberScan reads the Sage 300 CRE database and extracts the vendor ID and all the invoices that were paid on this check. It then attaches a copy of the check to each invoice.
Checks can be attached one at a time by using the Attach button at the top of the window. After a check is attached, the next check in the batch displays to be attached. Use the Feelin Lucky feature to automatically cycle through all checks in the batch, attaching each check to the corresponding invoice. Ensure that the scanned checks are in the same order as checks in the batch.
NOTE: Attach Checks does not handle the Accounts Payable 'overflow' check that is created when a check pays more than 13 invoices. In addition, Attach Checks cannot be used when there are multiple banks in the same batch. Use TimberScan's Auto Attach feature for these functions.