2.8.2.2.1. Capture Template Screen
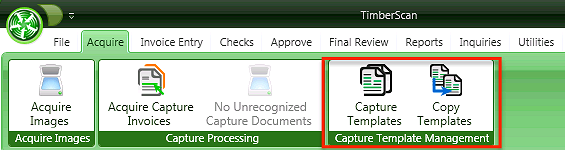
To begin, from the Main Menu go to Acquire >Capture Templates.
Capture Templates Screen:
Multiple Profiles
- Think of the template-profile as a parent-child relationship. At least one profile is required for a template. Each template can have multiple profiles. The anchor differentiates templates while the identifier discerns the profile(s).Multi-Page
- identifies where the invoice total is located on the invoice image. ‘Single’ signifies the total is always on the first page of the invoice image; ‘multi-page’ implies the total is always on the last page. This designation has nothing to do with the number of pages in the invoice image. A multi-page template, for example, may be defined as a ‘single’ page when the invoice total is located on the first page.PDF Text -
In the early learning stage, you may choose to ‘Bypass Failed Doc’ queue if many images are going unrecognized and you need to code the invoices for export to Timberline. Later on you can modify the template to have any rejected/unrecognized invoices flow to the Unrecognized Capture Documents queue.ByPass Fail
- In the early learning stage, you may choose to ‘Bypass Failed Doc’ queue if many images are going unrecognized and you need to code the invoices for export to Timberline. Later on you can modify the template to have any rejected/unrecognized invoices flow to the Unrecognized Capture Documents queue.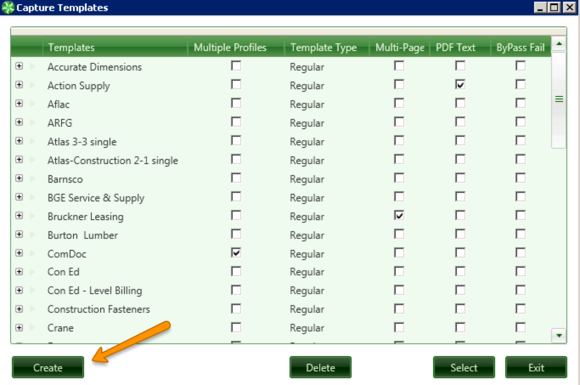
Press the “Create” button and the “Acquire Capture Templates” form will be displayed.
It is a Capture Best Practice to define templates for each vendor prior to first processing invoices for that vendor.
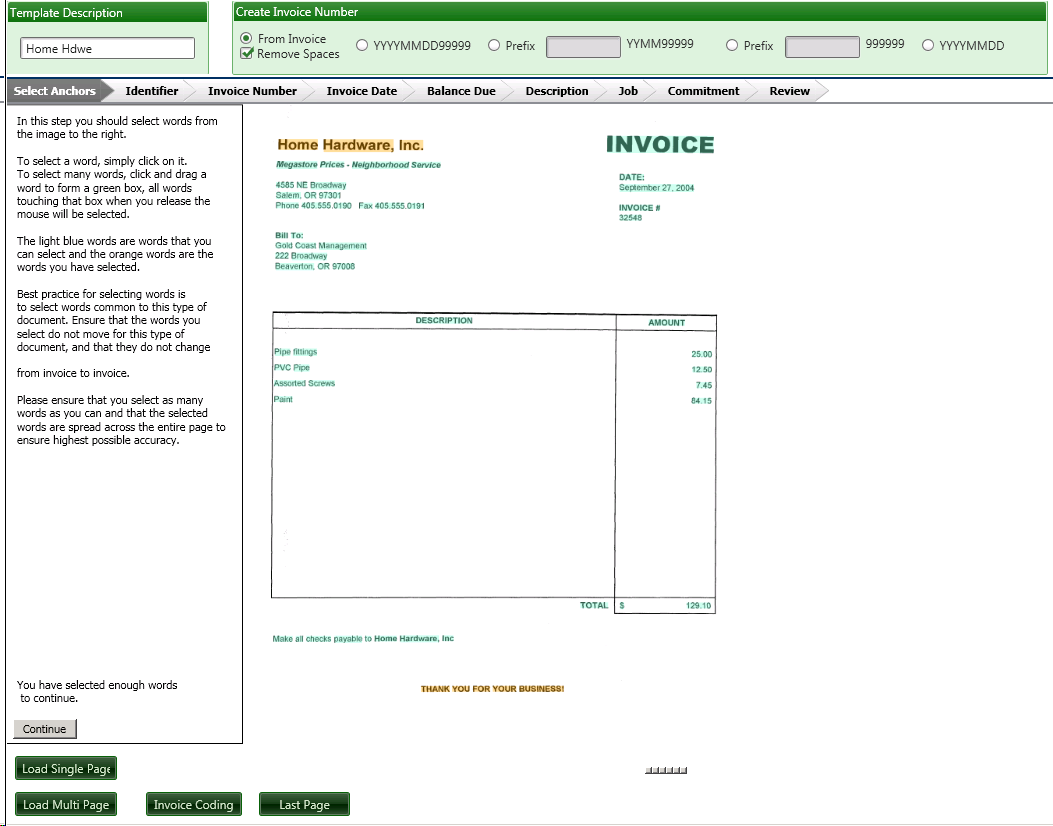
1. Template Description: Enter a unique template name.

2. Create Invoice Number -
If your vendor does not have an Invoice number, you can still have use Invoice Number by having Capture create one for you.Invoice Number Options:
-
From Invoice - The option above, moving the colored square over the invoice # field on your invoice.
-
YYYYMMDD99999 - This Option will create an invoice number using the date format selected with a five digit sequence # starting with 00001.
-
Prefix YYMM99999 - You can also use your own Prefix with a date and 5 digit sequence # starting with 00001.
-
Prefix 99999 - An invoice number can be created using a custom prefix and sequential number starting with 00001.
-
YYYYMMDD - This option will simply use the date as an invoice number. This is not a good idea if you the Vendor submits multiple invoices in one day and can result in a duplicate invoice error.

3. Load Single or Multi-Page Invoice -
Load the invoice template that you want to use. If you have vendors who send both single and multi-page invoices, you will need to determine how they should be created. If the balance due is always on the first page, regardless of the number of pages, select 'Load Single.' If the balance due is always on the last page, select 'Load Multi-Page' Invoice. When the balance due is not always in the same location you may need to create separate templates for the vendor.Once you have selected the document you want to set up you will see the Acquire Capture Templates Window: This Window is divided into Tabs at the Top
Anchors
Identifier
Invoice Number
Invoice Date
Balance Due
Description
Job
Commitment
Review
The Tabs contain information instructing Capture where to find specific information on your invoice.
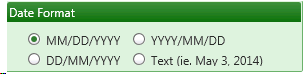
3. Date Format
What format is the date on your invoice in?
4. Allow Multiple Coding Records and ByPass Fail
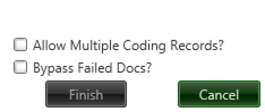
a. Allow Multiple Coding Records - Has to be checked if you are using the same invoice format with multiple identifiers and invoice coding options.
b. ByPass Fail Force - If this box is checked and the Template is found but coding data does not match:
Invoice will be sent directly to Data Entry with the invoice header information ONLYcoded. No distribution information will be coded.
If this box is unchecked, an invoice with a matched Template but unmatched coding will go to the failed document queue as usual.