2.7.4.5.3. Document Types
Once you have all of your Document Categories created, you can begin to create Document Types to go under them.
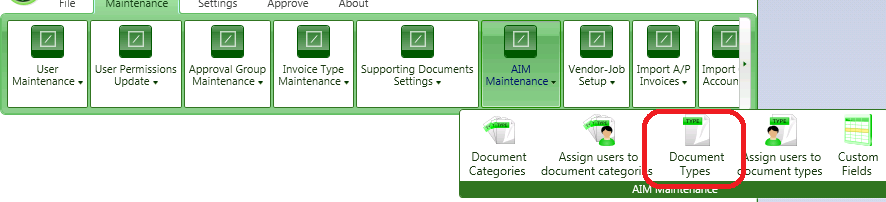
Let’s look at Document Type Creation by clicking on Document Types in the AIM Doc Types drop down in Admin > AIM Maintenance > Document Types
Start by selecting the Document Category in which you want to work.
Let’s begin by selecting PR, a Type we have previously defined and let’s create a new Category by clicking Add in the upper left-hand corner of the screen.
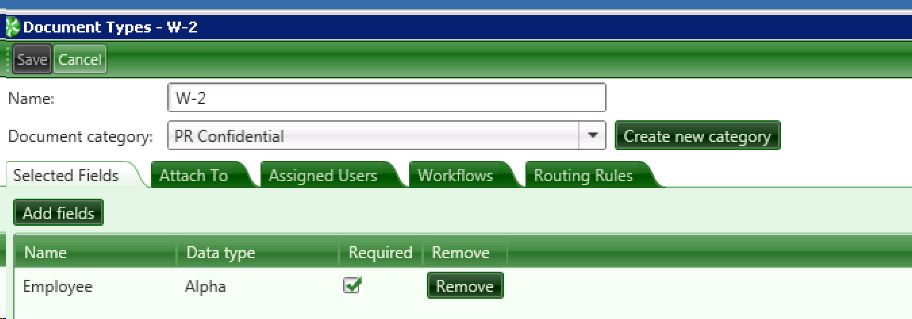
The first step in creating a new Document Type is to provide it with a unique name. For the purposes of this demonstration, we will be creating a document type for Form W9 and that is what we will enter in the Name field. Note that if you change your mind at this point regarding the Document Category under which this Document Type will fall, you can change your selection here. You can also create an entirely new category to house this Document Type by selecting Create New Category from this window. This will bring you to the Add Category window we saw earlier.
Now that the Document Type has been defined, we can begin creating its properties.
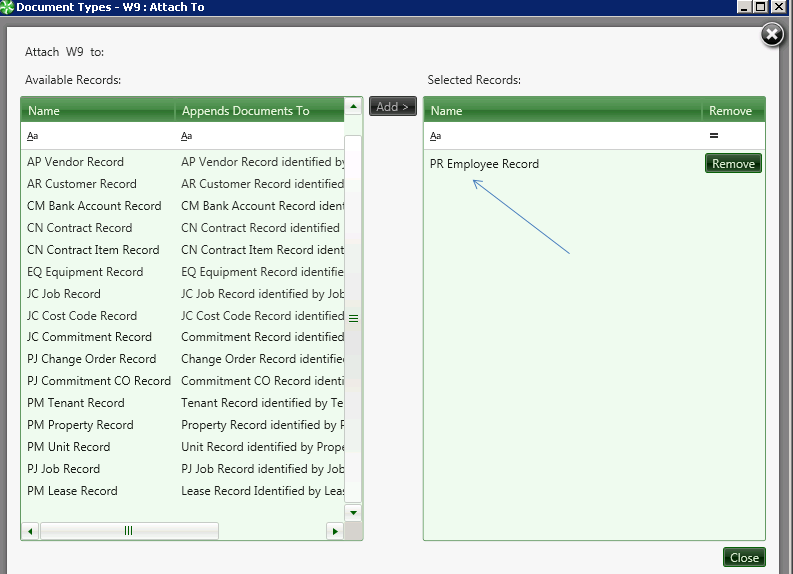
Let’s start with the Attach To tab to define which Sage 300 CRE records will receive attachments of this document.
Click Add Records to come to the record selection screen. Note the list of Sage 300 CRE records to which attachments can be made. Each record also contains a description of how a specific record is identified. In the case of the AP Invoice record for instance, a specific invoice will be identified by the combination of vendor and invoice. In each case, the record identification is equal to the list of Sage 300 CRE key fields.
For our new Form W9, we want to attach to the PR Employee Record which we can select either by clicking Add or by double clicking the record name. In this case, we are only interested in attaching to a single record so we are done and can click Close in the lower right hand corner of the screen.
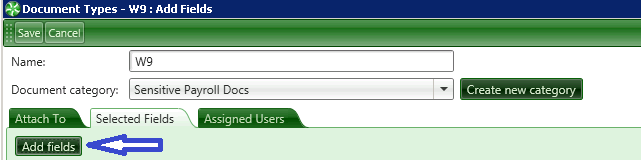
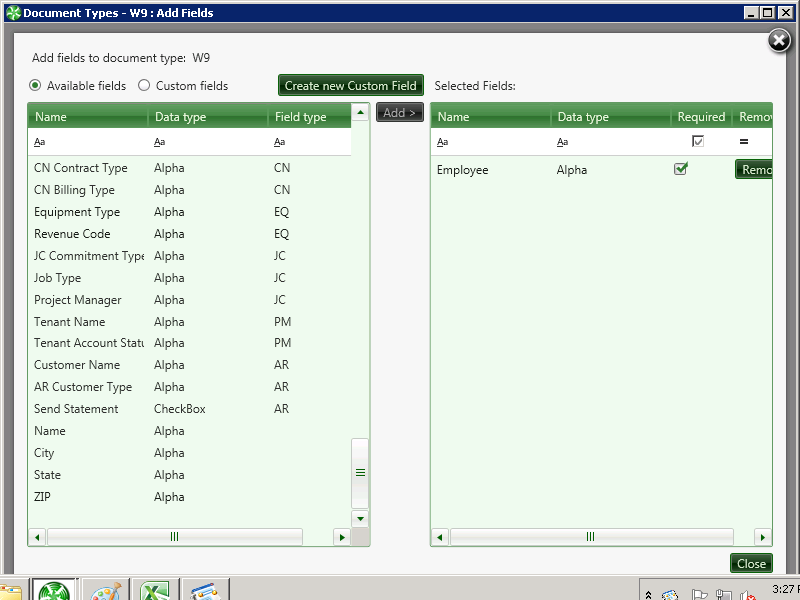
Now it is time to further categorize this document by selecting the fields which best describe it.
These fields will be used to search for this type of document down the road. In this case, we want simply to identify the Form W9 by Employee. Click Add Fields to begin the field selection. Note the list of Sage 300 CRE fields on the left. This list is hard coded within AIM and cannot be changed. The list has three columns: Name, which corresponds to the name of the field in Sage 300 CRE, Data Type and Field Type. Note that all three columns can be sorted by clicking on the green column header. The columns can be filtered as well by clicking in the blank box at the top of each column.
Select a field by double clicking or highlighting and selecting Add. Remove a field by typing Remove. Remember, each field you choose will be coded when you categorize an AIM document. You want to make sure you have all of the fields you may want to search by but not so many that coding becomes complicated. You can check selected fields to be required in AIM data entry.
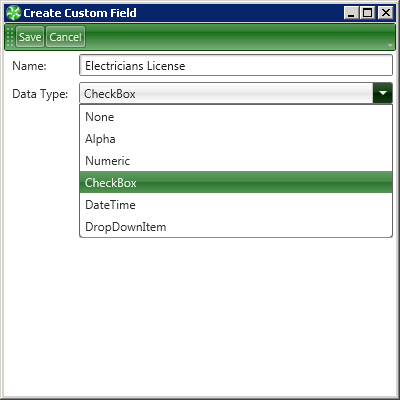
Now let’s create the Document type for an Electrician’s License. Certainly we will want the client number and the license expiration date although neither is available in Sage 300 CRE so we will need to add Custom Fields. We can create those right from the field selection window by selecting Create new Custom Field.
We will begin with expiration date.
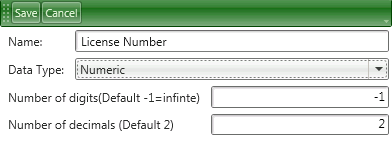
Start by assigning the field a unique name. In this case, we need a date so we will choose DateTime but note that you may also choose Alpha, Numeric, CheckBox or Drop Down Item. The last will be familiar to Sage 300 CRE. users who use customized lists from Custom Descriptions. Finish the creation of the custom field by clicking Save.
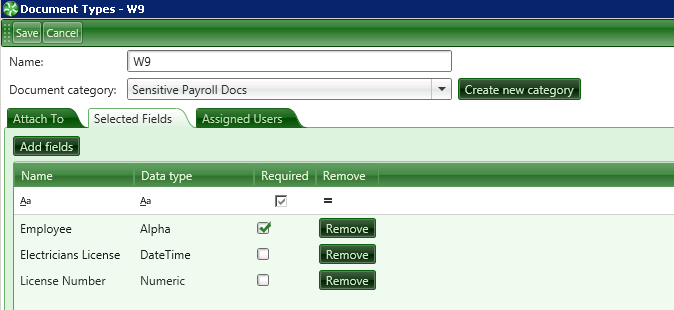
Now we need to add this new field to the document so that we can categorize license images by expiration date and eventually search for licenses based on expiration date. Add either by double clicking or by highlighting and selecting Add. And again, if you select a field in error, click Remove to delete it.
Let’s repeat the process for the License number.
We are done selecting fields so let’s click Close in the lower right hand corner.
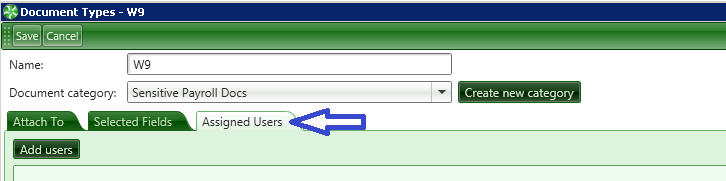
Now we can select Assigned Users for this Document which further refines the security at the Document Category level. You can assign users here or by selecting the icon "Assign users to document types" in AIM Maintenance.
For instance, if most of the documents within this Type are public but you have a single document that you wish to further restrict, you can select an Assigned User to override the selection and the higher Category level.
Optionally, you can create workflows and routing rules and assign these to Document Types. See the sections below to learn about Workflows and Routing Rules.
In the Workflows tab you can assign approval workflow only when this document type will always go through the same approval workflow
In the Routing Rules tab you can select a Routing Rule(s) if applicable. This will assign what Criteria to use in routing documents through this workflow. If no routing rules are selected then all documents for this document type will go through the workflow selected.
Click Save to exit out of Document Type selection and return to the main admin menu.