2.9.2. Setup
TimberScan GO users must be given access to at least one TimberScan company in order to log into GO. This can be accomplished in Admin > Users Management or Admin > Companies Management.
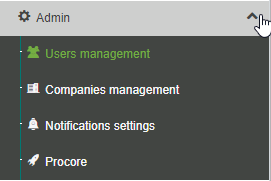 See Notifications Settings under the Email Notification and Reminder System topic. See Procore under TimberScan Productivity Tools > Other Integrations.
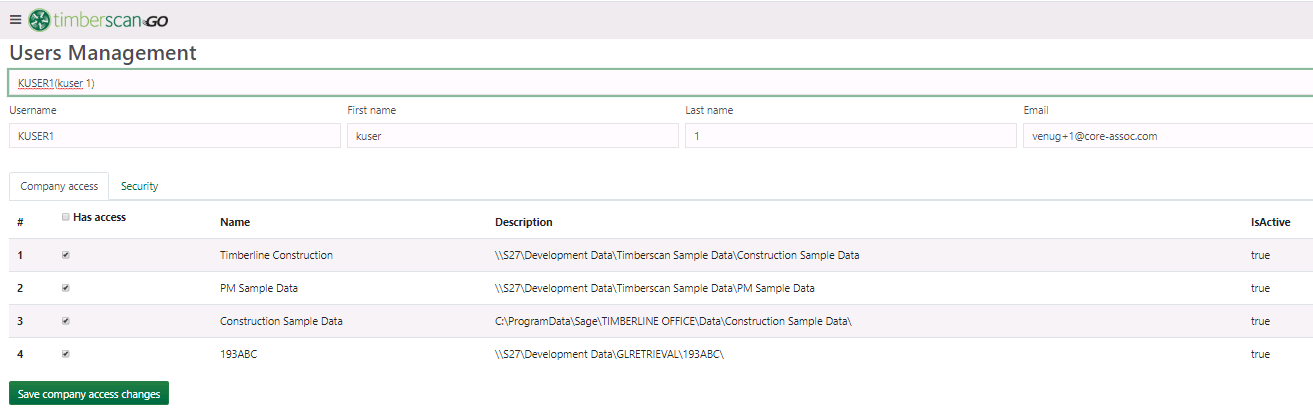
Users Management: select a user and choose the companies the user can work in. Be sure to save your changes.
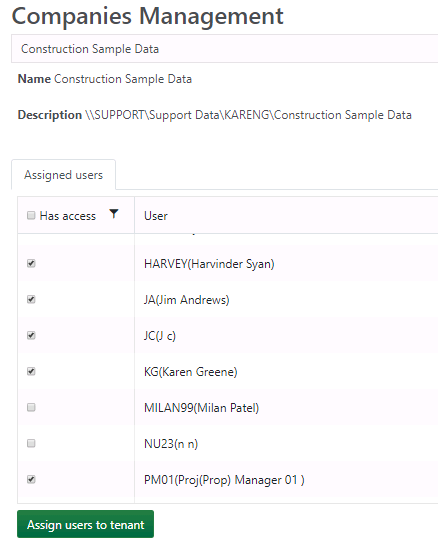
Companies Management; select a company and assign multiple users to access this company. Select the Assign Users to Tenant button when done.
NOTE: All permissions assigned to users in TimberScan admin are automatically assigned to the same users in GO. Currently TimberScan GO is designed for approvers only.
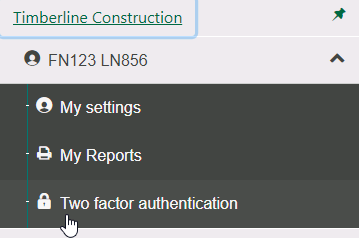
My Settings
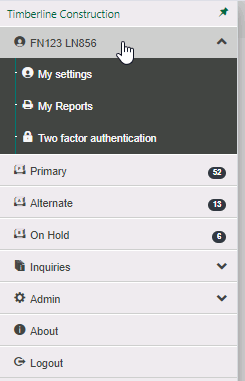
In addition, each logged in user has access to My Settings by clicking on the logged in user at the top of the navigation bar:
In My Settings, a user can change his/her password or modify their local settings:
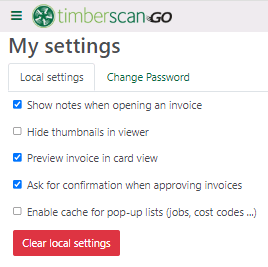
Show notes when opening an invoice - check this box if you want notes to automatically display when opening an invoice.
Hide thumbnails in viewer - check this box to hide thumbnail images of invoice pages.
Preview invoice in card view - check this box to display invoices in card view when opening TimberScan GO
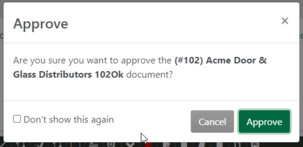
Ask for confirmation when approving invoices - check this box to receive a pop-up after selecting the Approve button:
Enable cache for pop-up lists - check this box to enhance performance. In lieu of querying the ERP database for records (jobs, cost codes, etc.) each time a list is selected, data can be cached in memory and displayed instantly. After a certain amount of time, data is automatically refreshed.
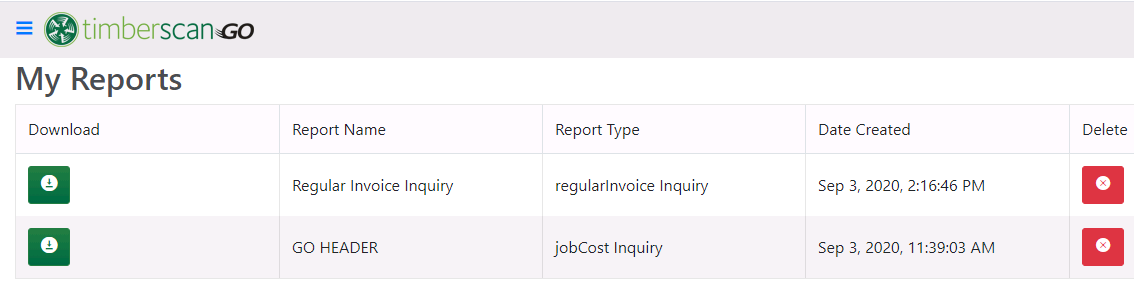
My Reports:
Reports created from inquiries in TimberScan GO are automatically saved to My Reports. To print or reprint a saved report, select My Reports to open a list of your saved designs:
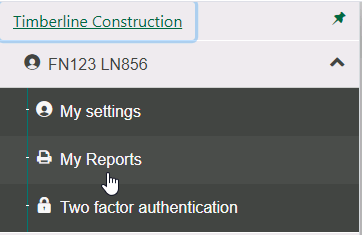
Two Factor Authentication:
Each user can also turn on Two Factor Authentication. This setup, like My Settings, is optional: