Cloud Setup:
1. Open a browser and go to your URL given to you by support
Yours will be similar, with your company name instead of “tenant”.
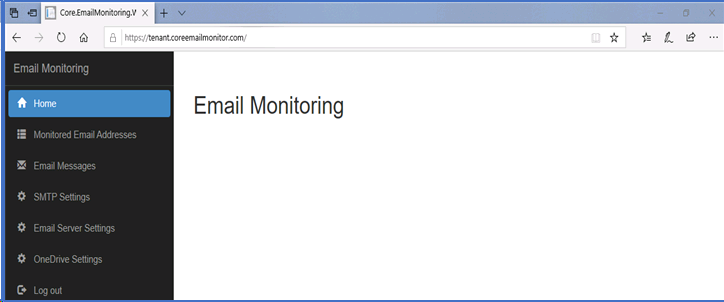
2. Log in with your credentials given to you by support
3. Once logged in, you will see a menu on your left from where you need to configure the service
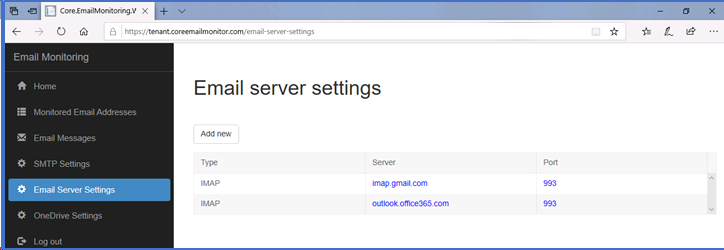
4. Go to Email server settings
Press “Add new”, in the next screen choose between POP and IMAP depending on your email server and then add the host and port of your email server. In the above image you can see we added the values for the Gmail and Outlook IMAP servers.
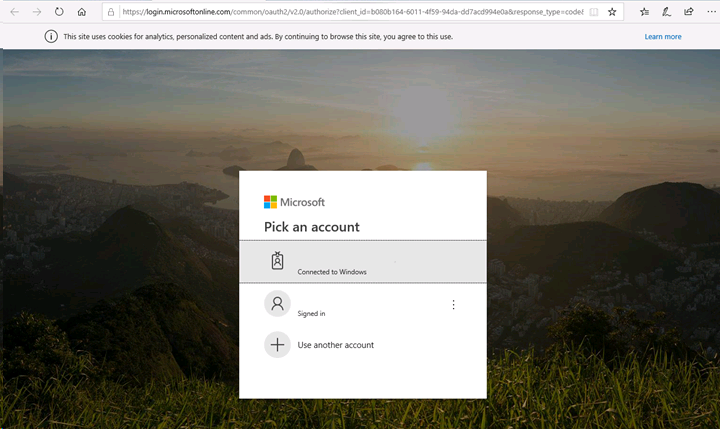
5. Go to OneDrive Settings and press “Connect Account”
You can use an existing OneDrive account or create a separate one for Email Monitoring.
If you’re not already logged in to OneDrive in the browser, then a new tab will open, taking you to the Microsoft Login site, where you need to enter your credentials to allow Email Monitoring to have access to OneDrive, to upload the PDFs and TIFFs.
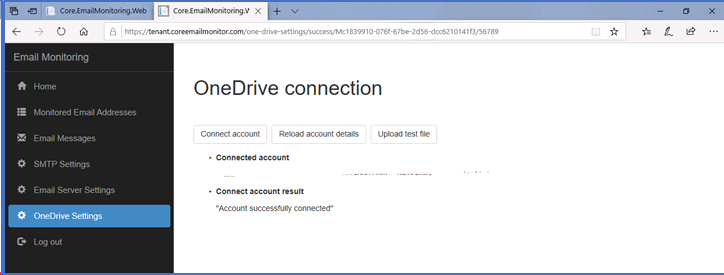
If everything goes well, you will see a message like the one in the screenshot below:
Now press “Upload test file” and go to your OneDrive account. You should see a new folder called “CoreEmailMonitoring” in the root, which contains another folder “test” with a file “test.txt”.
The best thing to do next is to setup this OneDrive account on the computer you want to access the files most often. If you select the “CoreEmailMonitoring” folder to always download the files, the files downloaded from your account will appear on your computer in a matter of minutes.
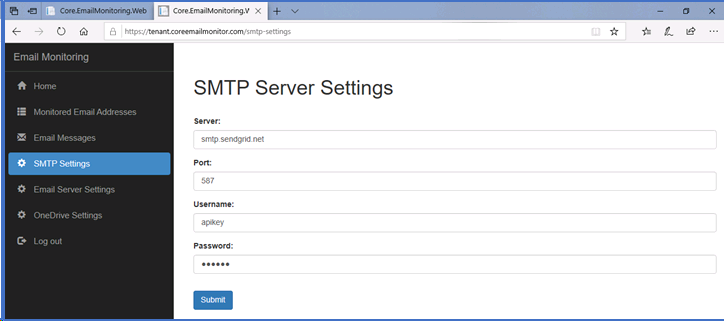
6. SMTP Settings
Here you set up the server that sends emails. We need this for forwarding your messages to an email address of your choice (more on that later when we set up a monitored emailaddress).
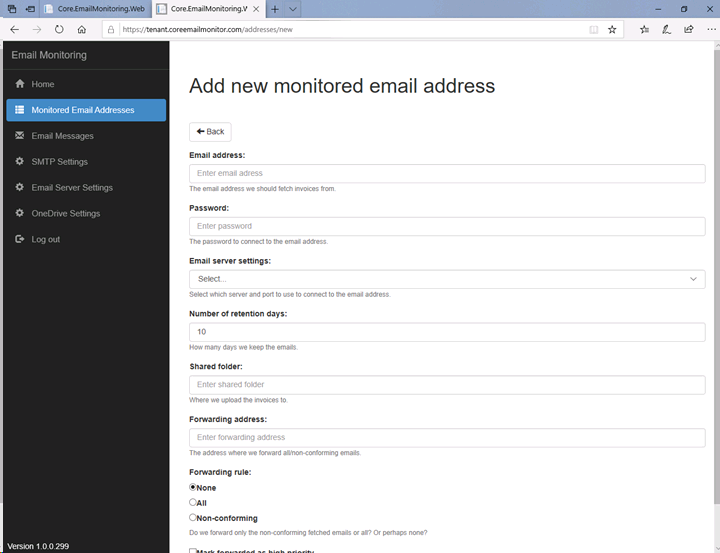
7. Monitored Email Addresses
Press “Add new” and fill in the email address where you will be receiving the emails with conforming attachments (PDF or TIFF files).
Enter your email password. All the data is kept encrypted in the database.
Select the Email Server settings (for POP or IMAP) that you added earlier.
The shared folder name will be automatically filled in based on the monitored email address, but you can change it to whatever you want.
Please note that there are some characters that are not allowed for folder or file names (like ~\"#%&*:<>?/\\{|}.) and these will be replaced by dashes.
You can choose to have some emails forwarded to an email address specified in the Forwarding address field. Also, if you check “Mark forwarded as high priority” then these emails will be flagged so they stand out in your email client. The forwarding rules are:
None = no processed emails are forwarded, regardless of their attachments.
All = all processed emails are forwarded, regardless of their attachments.
Non-conforming = emails that have no attachments or that have at least one non-conforming attachment (not a PDF or TIFF) are forwarded
Once you have successfully created the monitored email address, you can use the “Test connection” button to verify you can indeed connect.
Workflow:
Now that you’re all set for monitoring incoming emails with invoices, the steps for processing are like those for the server edition. The look and feel is different.
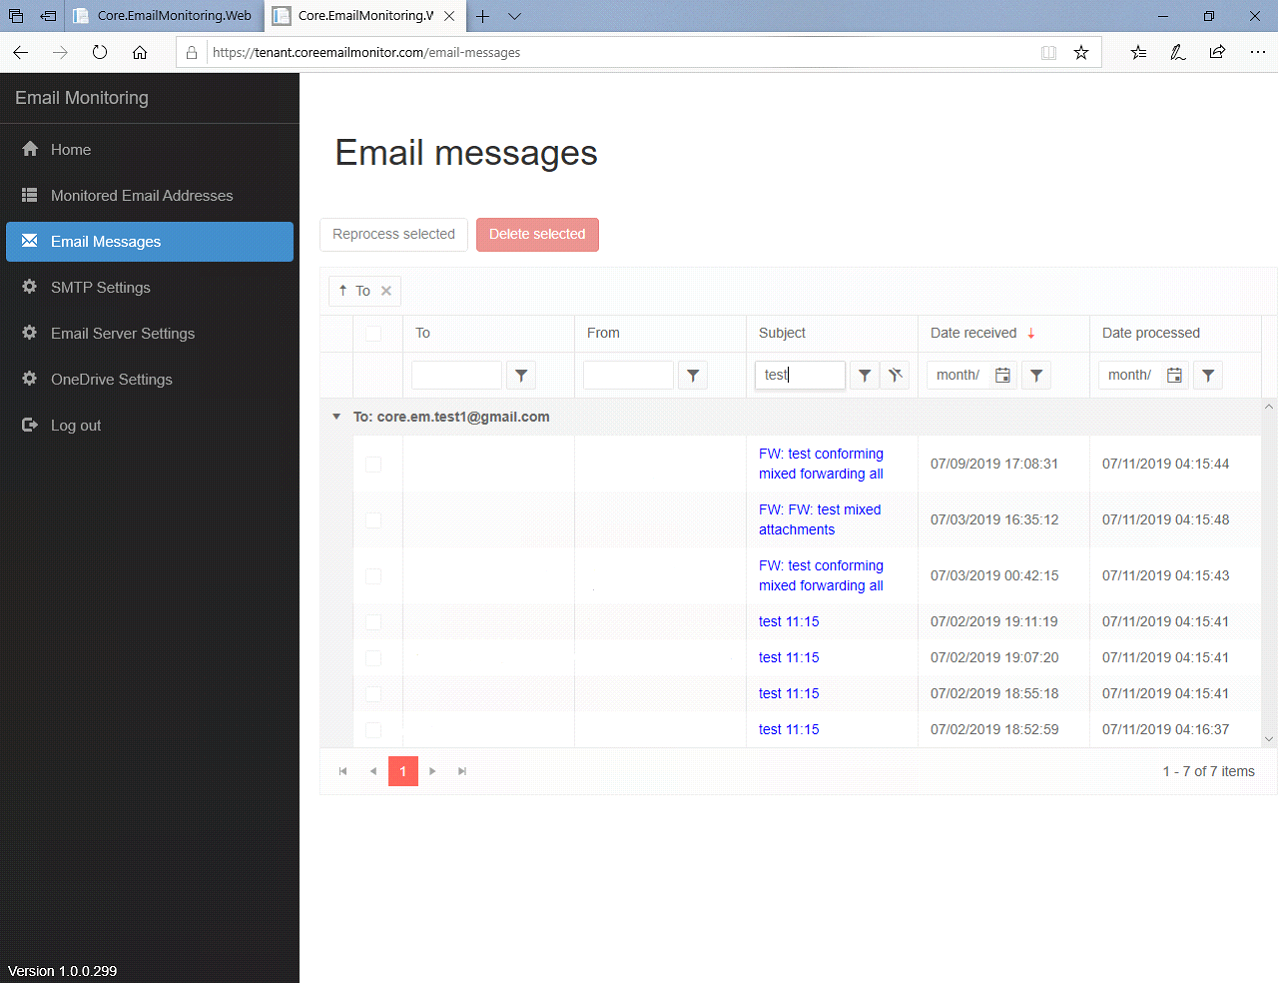
From the “Email Messages” menu item you can see the processed emails grouped by monitored email address, you can sort them and filter them by keywords, date received etc.
We clean up the email messages regularly, based on the number of retention days defined per each monitored account. With the retention days set to 0, the email messages are only kept on the server until they are processed. You can also manually delete email messages by selecting the emails and pressing “Delete selected”.
If for some reason, you need to re-upload the attachments of messages to OneDrive – say you’ve mistakenly cleaned up your OneDrive – then you can select the messages we still have on our server and press “Reprocess selected”. Since we’re only keeping the emails for a maximum of 10 days, make sure to reprocess in time. If you don’t want us to keep your emails on our server and have set the number of retention days to 0, then you give up on the ability to reprocess.
Unless you want to view or reprocess emails, you don’t need to log in to Email Monitoring once you configured it. Just sit back and the invoices from incoming emails will be automatically uploaded to the configured OneDrive storage. If anything changes over time, like the monitored email or OneDrive account password, then just log in to the system and press the corresponding “Edit” buttons to change the configured values.
Only authenticated users have access to any information in this system. The data is retrieved from encrypted data and it is decrypted on the server before sending it to the browser through a secure HTTPS connection.