2.7.5.2. AIM Index/Data Entry/Code
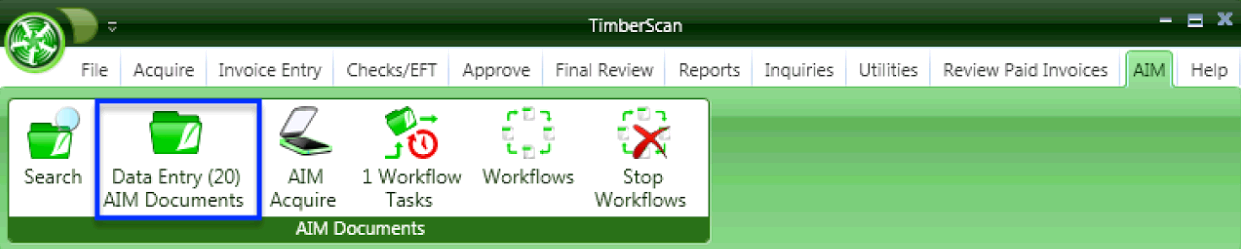
The Data Entry icon will let you know how many un-coded AIM documents are waiting. Double click to open the AIM Data Entry window. Additional menu items include View File, Add Page, Workflows and Route. Some of the available options are dependent on a user's permissions in User Maintenance.
Let’s take a minute to explore this window. At the top of the window, you will see icons for Saving, Printing and Emailing. As in other areas of TimberScan, you may email the original image or send as a PDF. You can choose the History button to see what has been done with this document or add a note.And, there are four navigation buttons to take you through all of the un-coded images.
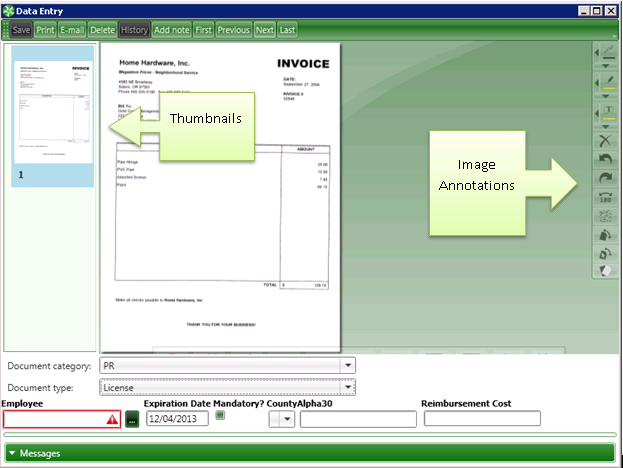
On the right hand side of the screen are the familiar image annotation and correction icons and down the left hand side of the screen, thumbnails for each page in the image.
NOTE: Annotations only apply to TIFF/TIF files. In AIM, annotations pertain to TIF/TIFF documents only. This is because other document types open in their related application. For example, a PDF may open in Adobe. If you have rights to annotate in Adobe, you will be able to add annotations to the document in AIM using Adobe.
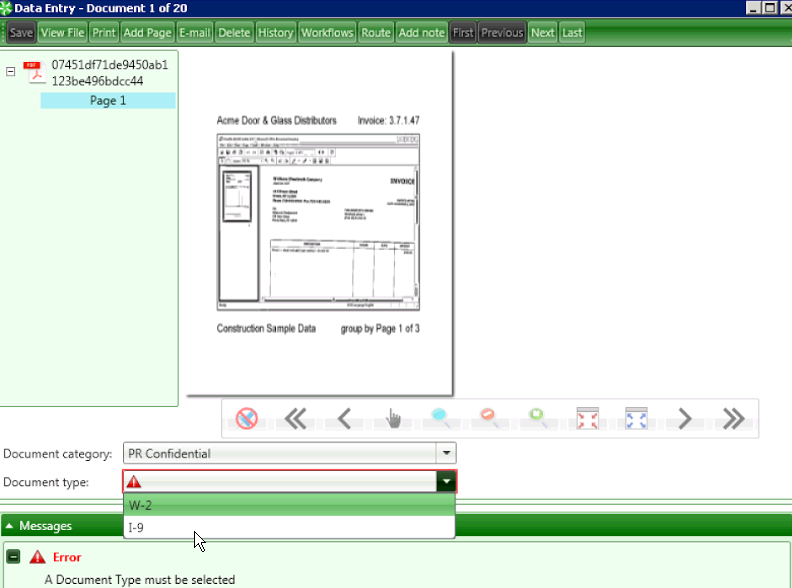
Start coding by selecting a Category. Alternatively, select a Document Type and the Category will automatically prefill. The Type drop-down list displays without having to enter a category first. In addition, the selected category and document types remain onscreen until changed by the user.
Let’s start coding a new Electrician’s license by selecting a Category. In this case, we will choose PR. This narrows down our selection in Document Type and shows us only those types defined within the selected category.
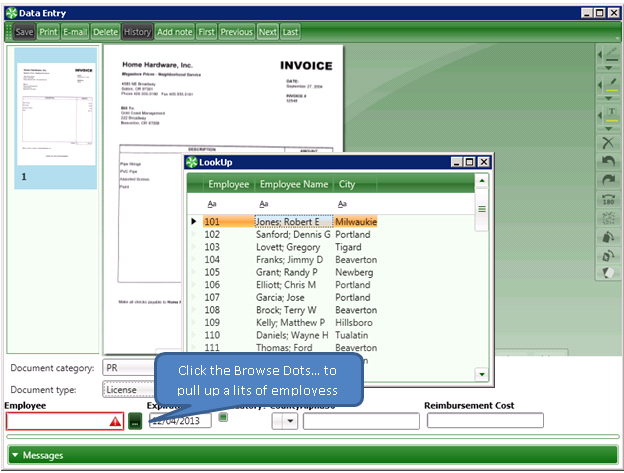
Once a document type is chosen, we see the fields we defined earlier for this type of document. When you choose a Sage 300 CRE. field, you will see an ellipsis (three browse dots) to the right of the field box. Clicking on the ellipsis opens a lookup window which displays data available fom your Sage 300 CRE database. In our case, we see the list of employee IDs, names as well as the city of residence.
Let’s select Employee 101, Robert Jones. The Electrician’s License number is a custom field and we enter that number manually.Lastly, we need a license expiration date.Because we defined this as a date field, clicking inside that window will bring up the calendar and you may select a date from the calendar window or enter one manually.
When you are finished coding, you may save your changes by navigating to the next document and answering “Yes” to save changes or by selecting Save in the upper left hand corner of your screen.
NOTE: After saving the coding on a document in AIM Data Entry, the index fields for the prior coded category and type will display for data entry on the next document in the queue. This speeds up data entry when coding multiple documents for the same category and type.
Duplicate Document Indexing
A setting in admin can check for duplicate coding on documents in AIM Data Entry. When checked, you can be warned of an duplicate entry - an existing AIM document with the exact same data for the same document type.
Let’s review some of the other options available in AIM Data Entry.
MENU BUTTONS
Save
Saves coding information on a document.
View File
Opens a file in its native format (Adobe Reader, Word, Excel, etc.)
Print File
Prints the a file displayed onscreen.
Add Page (User Permission)
Can add a page to an acquired AIM TIFF document (does not apply to any other document type)
Email
The Email button allows users to email the current document. A local copy of the document will be copied into the users My Documents folder and that copy will be attached to the email. The copy will be deleted after the document is emailed.
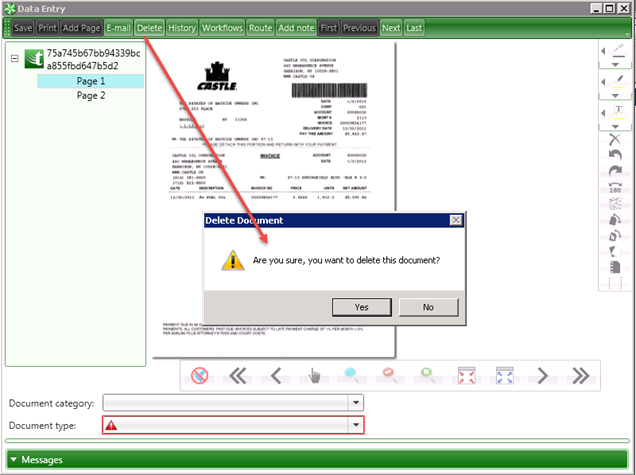
Delete (User Permission)
Delete the document displayed onscreen.
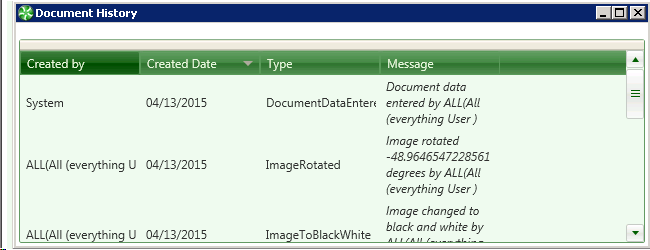
History
Other items in History can include information on rejected documents, workflow such as acquire, data entry, routing information, notes, etc.
Image History items start to accumulate when the document is first opened. They are added to the Document History once the user clicks the Save Button.
In AIM Data Entry and Acquire, annotations pertain to TIF/TIFF documents only. This is because other documents open in their related application. For example, a PDF may open in Adobe. If you have rights to annotate in Adobe, you will be able to add annotations to the document in AIM using Adobe.
When TIF/TIFF files are opened the following events will be tracked:
Workflows
Selecting the Workflows button opens the Document Workflows window for the document loaded in the Data Entry window.If there are no Workflows for the existing coding on a document, the Workflows button is disabled.
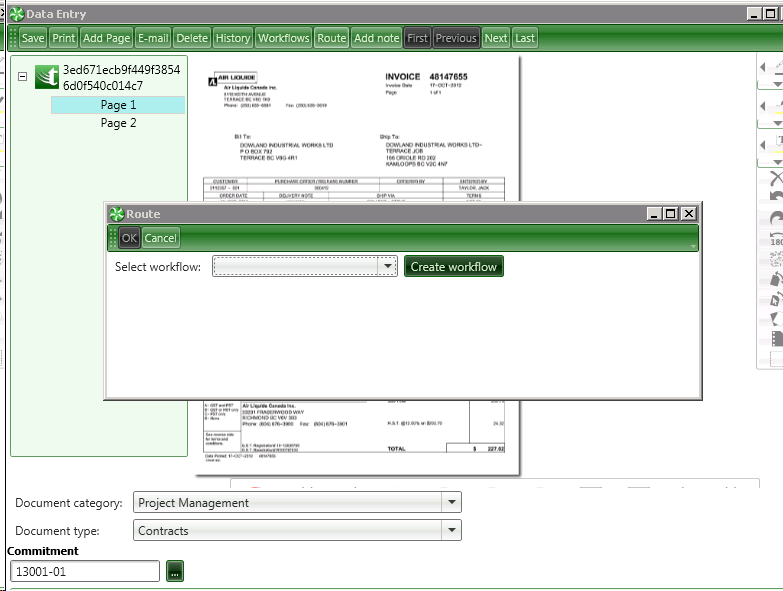
Route (User Permission)
The Route Button will be visible for users with AIM Route On Fly permission. Clicking the Route button opens the Routing window where the user can select a Workflow for routing the document.
If a selected Workflow is not assigned to the coded Document Type, the document will be routed using the selected Workflow in the routing window after the document is Saved.
If the coded Document Type already has an assigned workflow assigned AND the user has the 'Override Route" permission, the user is permitted to overrides the assigned Workflow when the Document is Saved.
Add Note
Notes are added to the document history.
Navigation Commands
First, Previous, Next and Last documents in AIM Data Entry.
Document Classification
Document Category Drop Down
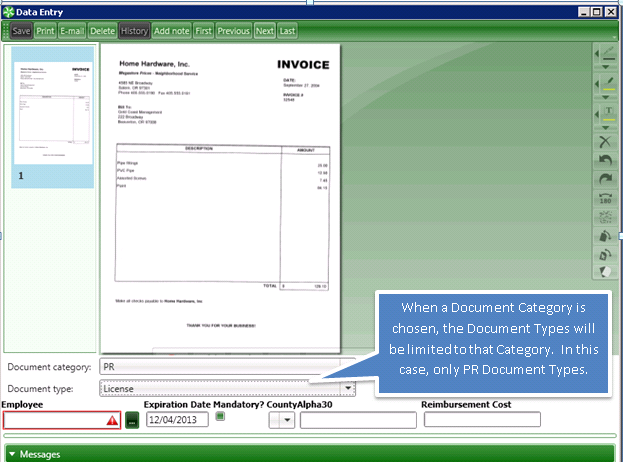
The Document Category drop down list allows users to filter what Document Types display in the drop down list. The field is populated with all the Categories assigned to the user. When the user selects a Category first, the Document Type drop down list displays only the Document Types within the selected Category.
Document Type Drop Down
The Document Type drop down list allows users to select from Types assigned to the user. The Document Category will automatically prefill when selecting the Document Type first.
Both Document Category and Document Type remain selected for any remaining documents until changed by the user.
Indexes for the Document Type
The fields available for input depend on the fields set up for the selected Document Type. The fields may or may not be required based on the Document Type set up as well.
OK – we’ve set up AIM, acquired and coded documents, now it’s time to see the power of AIM at work.